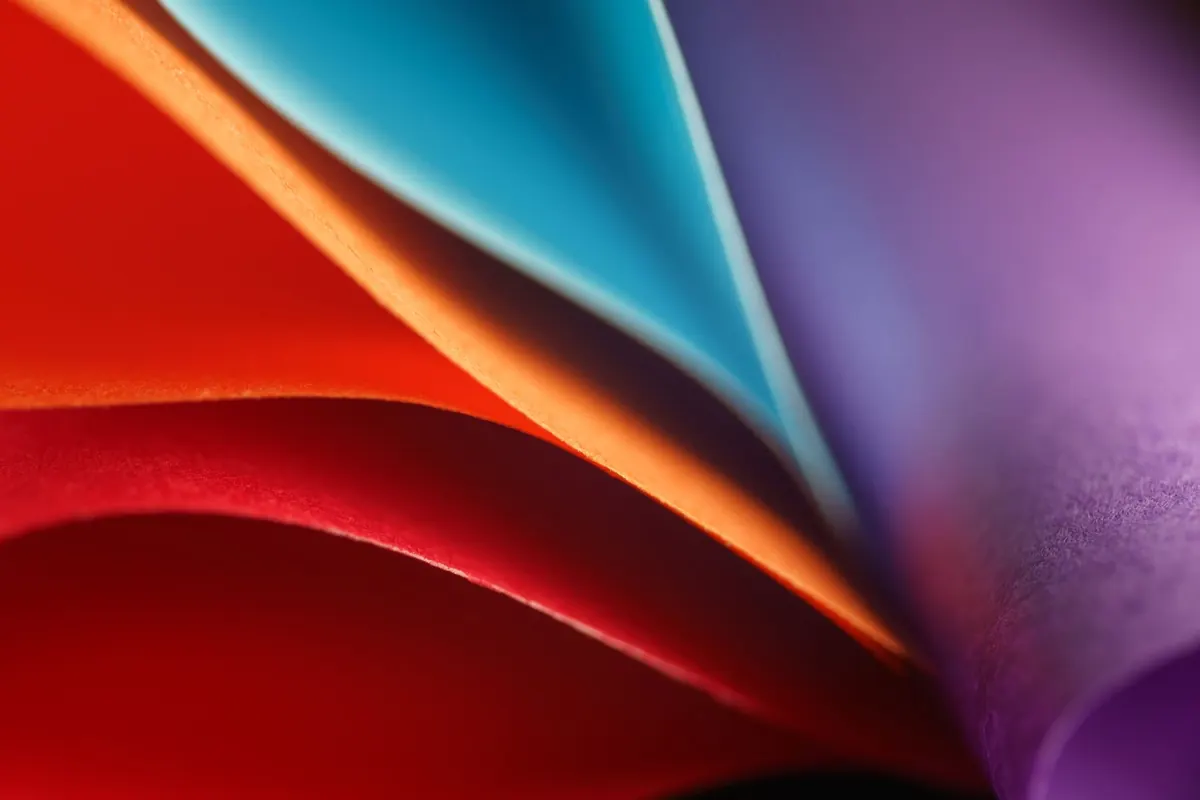
Few things deflate a project faster than folding a beautiful sheet of card and watching it split along the crease, or sewing a notebook that refuses to lie flat no matter how neatly you worked. The paper looks fine. The measurements were right. The problem is invisible, and it was decided long before the paper reached your desk: the fibres inside it all run the same way, and you folded across them.
Grain direction is one of those quiet details that separates work that looks handmade in the good sense from work that looks handmade in the other sense. It takes about a minute to check, and knowing it changes how you cut, fold, tear and bind.
Almost all paper starts life as pulp flowing onto a moving wire. As the water drains and the fibres settle, they line up with the direction of travel. That alignment is the grain, also called the machine direction. Across it, at right angles, is the cross direction.
Handmade paper is different. Fibres are scooped and couched with no consistent flow, so it has no reliable grain and behaves more evenly in every direction. Everything below applies to machine-made paper, which is what most of us are folding and binding.
Four behaviours follow from that alignment, and between them they explain nearly every grain-related problem:
You do not need a moisture meter or a lab. Any of these will tell you what you need to know in under a minute.
Reams from a good supplier often state the grain on the wrapper or the label — usually as long grain, meaning the grain runs parallel to the longer side of the sheet. Trust the label, but check a sheet anyway, especially with offcuts and paper you have had for a while. Laid and wove finishes give a visual clue too, but the tear test is the honest answer.
A fold along the grain is a bend in the direction the fibres are happy to bend. They flex, the coating stretches, and you get a crisp, quiet crease. Fold across the grain and you are asking every fibre to snap. The result is a cracked line, a pale stripe of exposed fibre, and on coated or heavy stock, flakes of coating along the outside of the fold.
The heavier the paper, the more brutal this is. A 90 gsm sheet folded the wrong way might just look slightly rough. A 300 gsm card folded across the grain will crack even with a bone folder and a steady hand, and it will get worse as it sits. Scoring helps — it compresses the fibres along the line so they have somewhere to go — but scoring across the grain on heavy card gives you a weak, ragged hinge rather than a proper crease.
For greetings cards, this is the whole game. Work out the grain before you plan the layout, then run the fold line along it. If the grain only works with a landscape card, make a landscape card.
Pull a sheet apart along the grain and you get a straight-ish, even edge with a soft deckle. Pull it across the grain and the tear curves, resists, and leaves a furred line that no amount of pressing will tidy. Anyone who has tried to tear a sheet in half "the wrong way" against a ruler knows the feeling: the paper decides, not you.
If you want a deliberate deckled edge for a journal page or a cover wrap, tear along the grain. Fold the tear line first, run a barely damp water brush along the crease, then tear slowly towards yourself. The grain still governs the result — the dampening just softens the fibres and keeps the edge from looking chewed.
Bookbinders have one rule that covers almost everything: grain parallel to the spine. That applies to the pages of the text block, the endpapers, and the boards of a hardback case.
The reason is movement. Paper takes on and gives off moisture with the weather, and it does so far more across the grain than along it. Bind a book with the grain running across the spine and the pages grow taller than they are wide as humidity rises. The fore-edge ripples, the block swells in the wrong direction, and the whole thing fights the sewing or the glue. Pages resist opening, the book refuses to lie flat, and the spine crease cracks within a few reading sessions.
Case bindings suffer in a second way. Boards cut across the grain will bow as they respond to humidity, and the hinge — the narrow strip where cover meets spine — is under constant strain. Bind the boards with the grain running vertically, parallel to the spine, and they stay flat.
Grain runs with the spine, with the fold, and with the tear you want to be straight.
A concrete example makes the arithmetic easy. A4 sheets are usually supplied long grain, with the grain running along the 297 mm side. Cut one down to A5 portrait and the grain runs along the 210 mm height — vertical, parallel to the spine. That is exactly what a portrait notebook needs. Cut the same sheet into A5 landscape and the grain now runs across the spine. Same paper, same knife, completely different result.
Grain problems rarely announce themselves while you are making the thing. They turn up later:
Cheaper mass-produced notebooks occasionally show these symptoms, which is why some of them simply will not lie flat however hard you press them. It is not always the binding method. Sometimes it is the grain.
None of this requires special equipment, just a habit.
Get into that routine and the cracked spines, buckled pages and messy tears mostly stop happening. The paper will still do what paper does, but at least it will be doing it in the direction you chose.
Photo: Jakub Zerdzicki / Pexels
A practical, printable checklist for a journalling weekend away, covering notebooks, pens, ink, washi tape and the...
Hardcover and softcover journals compared on construction, durability, portability and writing comfort, with...
A practical five-step method for building consistent ink swatch cards that record true colour, drying time, water...

A journal for paper, ink, and craft.
